
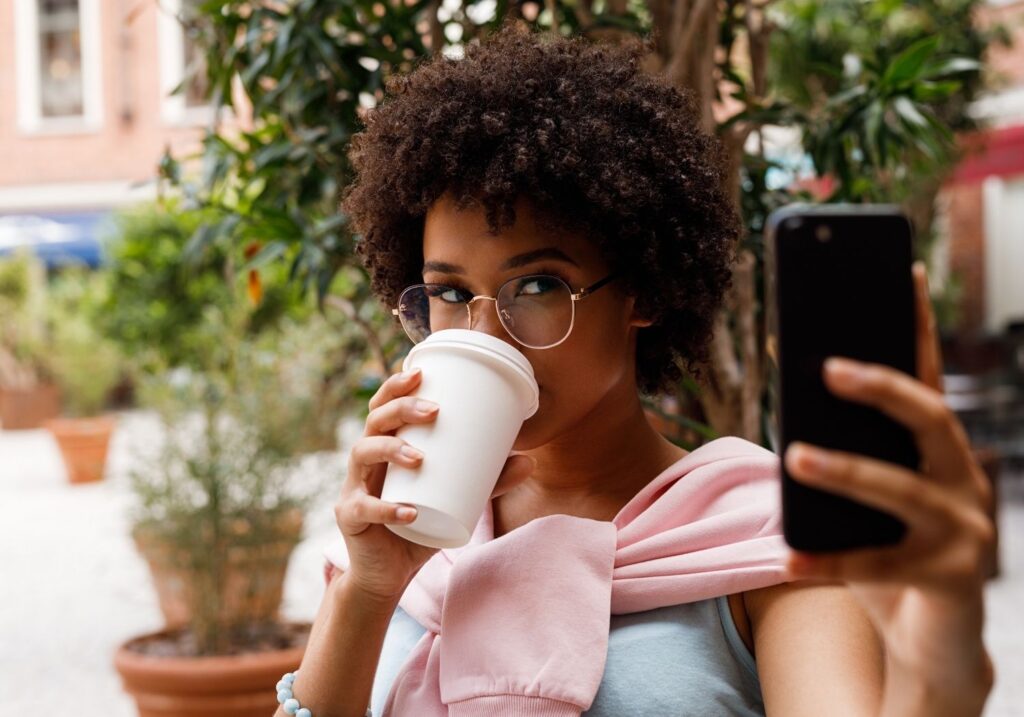
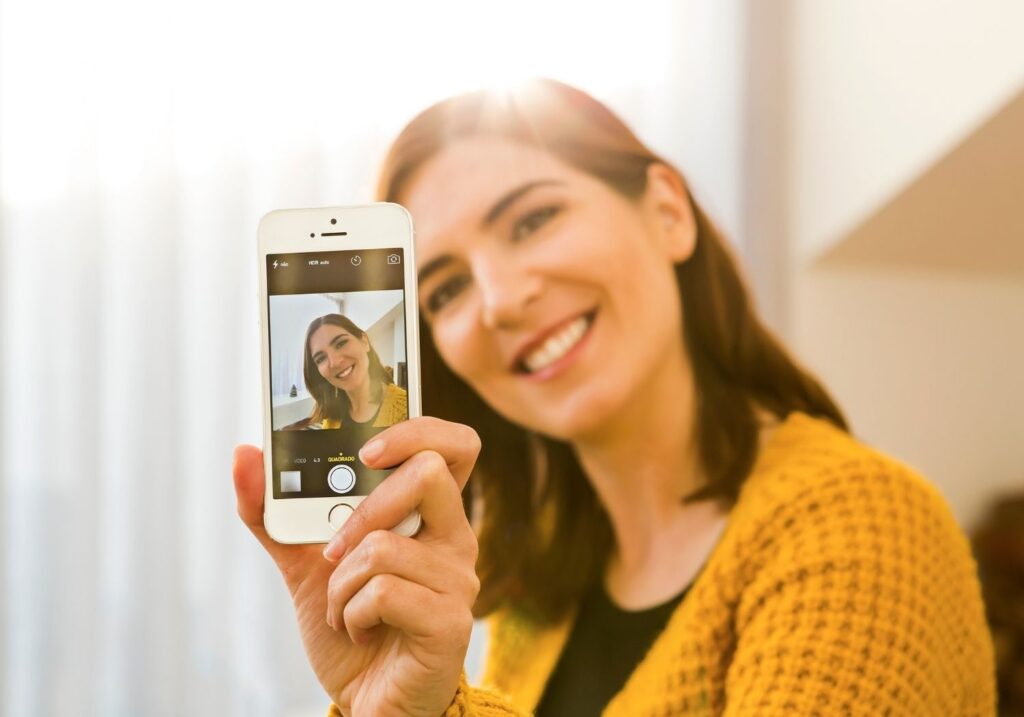
Try as you might, your selfies are just not turning out the way you want them to. After trawling Instagram for hours, you just can’t figure out the magical formula for how to take pictures of yourself alone.
You are not alone. This is one of the most commonly asked questions in our community
“Hey girls, how do you take these amazing photos of yourself when traveling solo?”
Or variations of that question that ask about the safety of using tripods to take your own photos, or the awkwardness of setting up a camera and tripod in a transited area, etc.
I’m here to share the secret: it’s not magic but rather a few logical steps to get that perfect photo of yourself. Whether you decide to master the art of the selfie or prefer to approach strangers, this article will aid you in your process to taking really great photos without anyone’s help.
The answer is simple, yet there is a lot to be considered. You have three options to take amazing photos of yourself when traveling solo:
- OPTION 1: Selfie stick: Selfie sticks were invented when we all started to take photos of ourselves alone and are the simplest way to take your own photos if no-one else is around.
- OPTION 2: Tripod + remote control: Set your equipment and use a selfie stick or remote control to take a few photos until you find the right one.
- OPTION 3: Book a pro photo shoot: Hire a professional photographer at the destination to take photos of you.
- OPTION 4: Ask a stranger: Ask someone to take your photo. Further tips below on how to target the right stranger.
- OPTION 5: Join a group trip with a photographer
In this article I will be exploring all four options above for taking photos of yourself when traveling alone.
Contents
- 1 Option 1 to take photos of yourself alone: Selfie sticks
- 2 Option 2 to take photos of yourself alone: A tripod and remote control
- 3 Option 3 to take photos of yourself alone: Book a professional photo shot
- 4 Option 4 to take photos of yourself alone: Ask a stranger to help you
- 5 Option 5 to take photos of yourself alone: Join a group trip with a photographer
- 6 How to prepare your mindset to take the best photos of yourself when traveling solo
- 7 Take a class to learn how to take photos of yourself alone
- 8 Learn about angles and framing
Option 1 to take photos of yourself alone: Selfie sticks
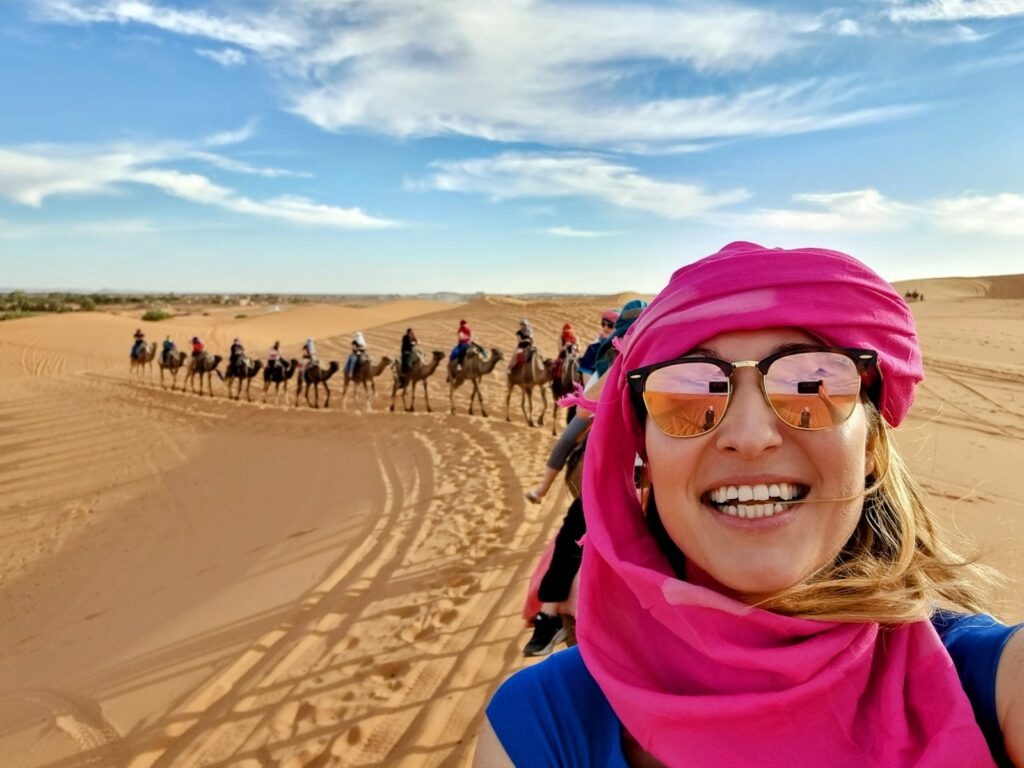
If the only thing you want is to capture your face with the amazing background, then you won’t need an entire tripod or camera and can just use a little selfie stick with your phone camera.
I know that some people are pretty anti selfie sticks, but when used correctly and not obsessively they can come in really handy and can take some amazing shots or yourself and even of a group of friends you just met on your solo travels.
Advantages of a selfie stick:
- Your arm won’t be in the shot
- You get more reach so that not every photo is just a close up of your face.
Selfie sticks are quick, convenient and super easy to use. Just try not to walk around all day with the selfie stick out. If you’re not careful you could poke somebody’s eye out! This is the reason why selfie sticks have even been banned in certain places.
My recommended selfie sticks
- Here’s an amazingly functional and best selling selfie stick that also doubles as a tripod from Sensyne.
- This selfie stick from Bluehorn has exactly the same functionality as the PEMOTech, and with over 11k ratings with close to 5 stars on Amazon you know it’s going to be perfect. Like the PEMOTech, it also comes with Tripod functionality, a wireless remote shutter and is compatible with both iPhone and Android.
Option 2 to take photos of yourself alone: A tripod and remote control
If you’ve been following this article until here, you already know the best setup for your solo travel photos is a tripod and remote control and this is likely to give you the best results.
Set up your tripod, connect the remote control to your phone, place the phone on the tripod, frame the image and then pose. Change pose, click again. Repeat.
Click the remote control and take as many photos as you wish so that you can later on pick the right one. If you are using Lens Buddy you can then shortlist your preferred photos to then later review in more detail.
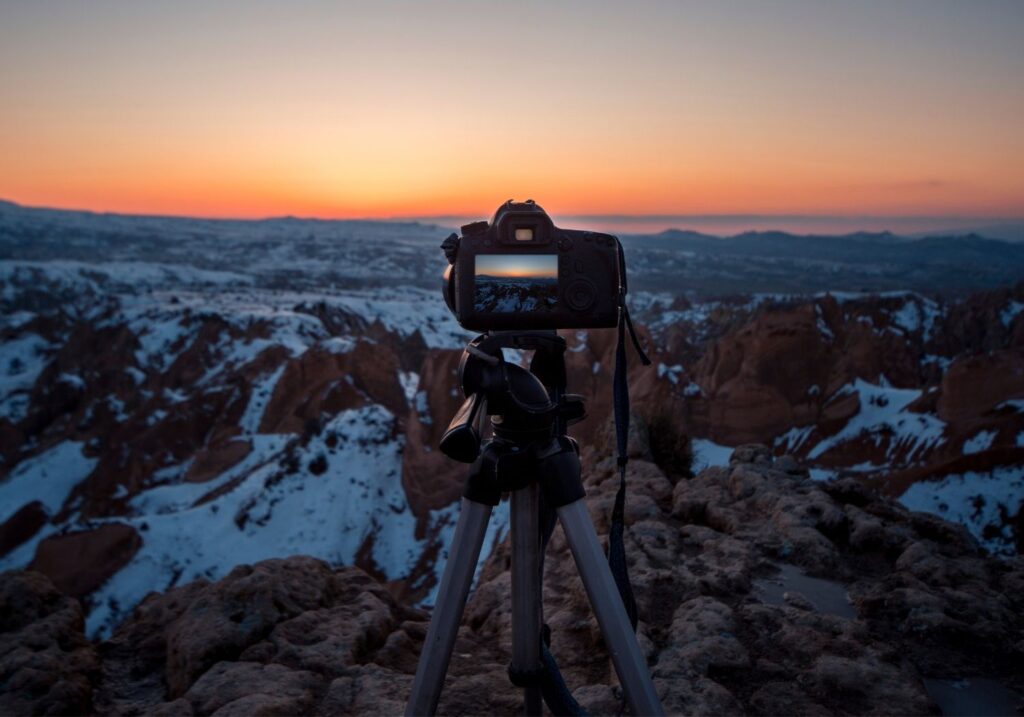
All great selfies and solo photos start with having the right equipment. If you are looking to use a tripod for your solo photos, you need to consider if you have the right equipment for it, or get what you need.
You’ll need the right camera (or phone camera), a tripod and a remote control. Note that the best camera to take photos of yourself may not be the best camera for other types of photography because there are some essential features you need to take your own photos.
So, what camera should you get to take the best solo travel photos?
Your goals with the photos will determine the kind of camera you should get. Be brutally honest with yourself.
- Are you taking the pictures for your own digital scrapbook?
- Are you going to print them out and sell them?
- Are you looking to share them on social media? Or do you want to grow your followers on Instagram?
- Will you be taking photos in low light / at night?
- Do you really need the latest DSLR or will a phone photo be good enough (hint: phone cameras are great and weigh nothing compared to a proper DSLR)?
- Are you going to use a photo editing app to remove those in the background and add a filter or do you need to wait for everyone to leave to have that perfect shot?
- Do you have a drone you can carry, and will you be able to fly it at your destination?
Wrote down answers to the above questions to help you decide.
My Recommendation
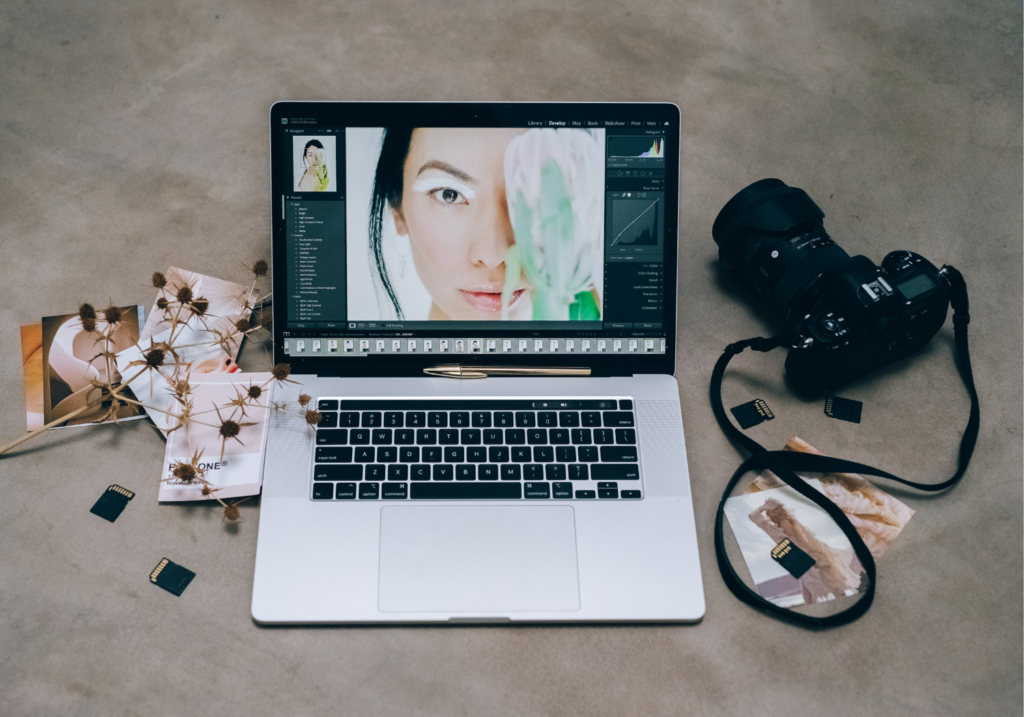
If you are planning to sell or print the photos or use Photoshop to edit them, you should consider using an actual camera vs. a phone camera, because the quality of the raw files will be better and you really need the raw files to do proper editing.
If you just want your photos for your own use, for social media, to edit using one of the popular apps (or even to apply a filter via Lightroom) or even for your own scrapbook, a phone camera (especially one of the newer models from iPhone, Samsung or Google) will be more than enough. Even in low light.
I take all my photos for the group trips we organize using my Samsung S22 and they are fantastic, so much so that guests always want me to take their photos. I only bring a camera for wildlife photography on our safari trips, otherwise, a camera is an unnecessary weight added to my daily explorations.
Camera features you need to take good photos of yourself
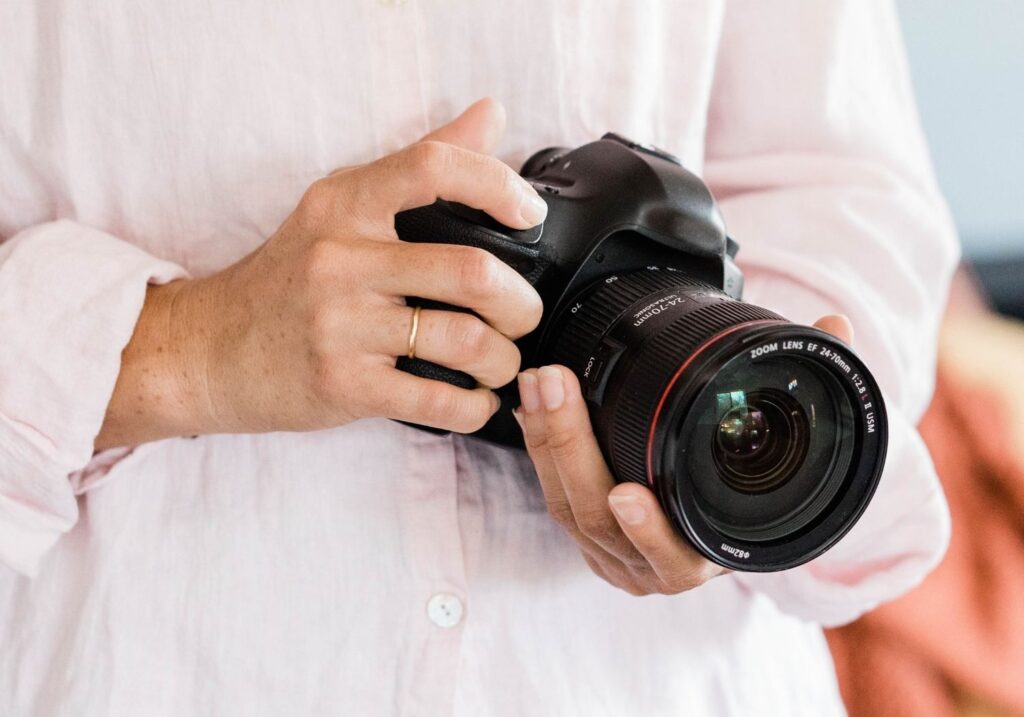
If you’re purchasing an actual camera (DSLR, mirrorless or point and shoot), here’s a quick list of features your camera needs to take great photos of yourself alone:
- Flip Screen. Some cameras have great LCDs that flip around 180 degrees so you can see what you’re taking a picture of. Some LCDs rotate at various angles and others only flip vertically. Some have touch screens too which makes focusing or menu selection easier.
- Auto-Focus. Look out for this important feature on cameras as some are quicker at finding your face than others. A good Auto Focus will find you quickly and have the ability to follow you around if you move. Point and shoot cameras are good at this. Remember that you aren’t behind the camera to focus on your face so this is an essential feature of a good camera to take pictures of yourself when traveling solo.
- Portability & Compactibility. A lightweight and compact camera will really make your travels and photo-taking experience so much better. Fitting your camera in your handbag and being able to hold it up with one hand will just make your life so much more convenient. Anything that weighs more than 500gr / 1 pound should be reconsidered. It does not seem like a lot of weight right now, but after a few hours of walking, it will.
- Durability. You’ll most likely want a camera that can survive drops, water and dust. If you’re more of an intrepid traveler, this will be really important. So consider durability and weather-sealing if you’re active or love spending time outdoors, or if you are planning to go on safari or to the desert where dust is everywhere and impossible to avoid.
- Image Quality. DSLR and mirrorless cameras are the go-to options for quality, especially if you want to capture low light settings. Focus on pixel count, RAW capabilities and so on to see if the camera you want to purchase holds up.
- Lens choice. Check to see if the camera has a zoom lens, wide angle lens or interchangeable lenses so that you have a choice. Note that if the camera has a fixed lens, it will need to be at least 35mm if you want to easily capture yourself with a selfie stick. On the downside, more lenses also mean more weight so make sure you have a standard lens that covers you for most photo taking.
- Wireless capabilities. Having Wifi, Bluetooth or NFC capabilities is a must if you want to use the camera to take photos of yourself. This lets you connect your camera to an app on your phone for timers and remote photo taking, the Cloud, or any of your social media accounts so that you can either instantly share your photos or do live streaming. Without it, you won’t be able to take photos alone, or will have to rely on the timer and run to get into position, then repeat for the next photo. Really time consuming and even more awkward if you are worried about what others may think.
DSLR vs. mirrorless vs. point & shoot vs. phone cameras
Here’s some quick info on the difference between DSLR, Mirrorless, point and shoot cameras and your phone camera if you’re undecided on what to get or whether to upgrade.
- DSLR (Digital Single-Lens Reflex) cameras are the top of the line. They are very expensive and really bulky and heavy. You won’t need one of these unless you’re going to print your images for artwork or put them in a magazine.
- Mirrorless cameras comes without the complex system of mirrors that a DSLR has. This means that they are lighter in weight but have fewer features. Both cameras also have the option of video and usually have a flip LCD screen so you can see what you’re capturing.
- Point and shoot cameras are a good alternative to mirrorless and DSLR cameras. They are smaller and more compact and come with their own zoom lenses which usually fold in and allow for higher quality zooming than phone cameras. If your phone camera is not great, a point and shoot is a great affordable alternative to buy.
- Mobile phone cameras are fine for most travelers and even content creators. If you’re only going to be posting on social media, apps like Facebook or Instagram compress your photographs to roughly 2 megapixels anyways, so you won’t need a DSLR, mirrorless or point and shoot camera and a phone camera will do just fine. These are only necessary for wildlife or night photography.
Best cameras to take photos of yourself alone
I have done a bit of research to suggest some camera models that meet the requirements of a solo traveler in the DSLR and mirrorless category and which are good value for money.
Below are some suggested camera types as well as makes and models for the perfect selfie.
FUJIFILM XT-100 or XT-200 Mirrorless Camera

This series is super lightweight and can easily fit in your handbag. They connect to your phone for remote photo taking and have a flip LCD touch screens.
The 200 has more advanced features for both photo and video mode like updated Face/Eye Detection Auto Focus. The 100 is an entry level option but still really great. They both have great lens options.
Buy the FUJIFILM XT-100 here or the FUJIFILM XT-200 here.
Panasonic LUMIX DC-G9 Mirrorless Camera

Another super lightweight and compact camera with an option for interchangeable lenses.
It boasts a really fast auto focus feature and the LCD also flips.
Buy the Panasonic DC-G9 here
Pentax K-70 Weather-Sealed DSLR

Pretty rugged DSLR camera for those who are traveling in nature. It’s dust proof and weather resistant and has an in-body “SR” or shake reduction mechanism.
The LCD screen flips around, and it is an amazing DSLR for its size.
Buy the Pentax K-70 Weather-Sealed DSLR here.
Nikon Coolpix A1000 or P1000

Slick, small and compact with a telephoto NIKKOR zoom lens. Good in low-light and has great video stabilization, has RAW shooting capabilities and a tilting touchscreen LCD display.
Connect it to the SnapBridge 2.5 app on your mobile for instant sharing and remote control. Buy the Nikon Coolpix A1000 here.
The Coolpix P1000 is a step up, also with a crazy telephoto lens that claims to capture the craters on the moon or view the International Space Station in flight! Buy the Nikon Coolpix P1000 here.
Canon G7 X Mark II

This tiny camera is superbly powerful. It can shoot in RAW or JPEG (or both at the same time).
There is built-in wireless connectivity that includes Wi-Fi and NFC so that you can share or save your photos instantly.
The LCD monitor flips and rotates in various angles and has superior photo quality with a 1.0-inch sensor, DIGIC 7 Image Processor, and a fast 4.2x Optical Zoom lens.
Buy the Canon G7 X Mark II here.
Sony Cyber-shot DSC-RX0 II Digital Camera

If you’re an intrepid explorer and need something that is virtually indestructible, this camera is your option.
It’s more like a GoPro than a camera. It’s absolutely tiny (2.375” x 1.625” x 1.1875”) and extremely robust that can go down 33 ft (10m) of water without any housing.
It’s “crush proof”, surviving weights up to 200 kgf / 440 lbf and shock proof if dropped. It also takes great pictures and videos.
Buy the Sony Cyber-shot DSC-RX0 II here.
Best camera phones for taking photos of yourself
The quality of a camera seems to be the most important feature of a mobile phone these days so below is a list of features you should consider when picking the right camera phone to take photos of yourself line:
- Size/weight. You’ll want something lighter and less bulky so that it’s easy to carry and hold when attached to the end of a selfie stick. A regular phone is better than an i-pad for example, and some of the XL phones are really hand to handle with one hand so they make it more difficult to take selfies.
- Apps. See which photo editing apps come with the phone and which you can download. Note things like which apps you can’t download (eg. some apps only work with iPhone and others only with Android). Also check to see if the camera app has things like a built in timer, auto focus, beautification features, filters, framing options etc.
- Front camera quality. Selfie photos are usually taken with the front camera, as opposed to photos taken with a tripod which use the back camera. While back camera quality in the latest phones is as good as any point and shoot camera, front cameras are not of the same quality so make sure to test them before buying your phone. Most phone manufacturers will promote the quality of their back cameras but rarely talk about the front camera quality.
- Price. More expensive does not always mean better. Realme, Asus and OnePlus, for example, are far more affordable options when compared to giants like Apple and Samsung, but the back cameras are pretty decent.
- Battery life. The longer the battery life, the better. Larger batteries do mean heavier phones, but this is a small price to pay when you’re out in nature and your phone goes dead in the middle of a shoot.
The best brands on the market for taking pictures are iPhone 14, iPhone 14 Plus, iPhone 14 Pro and iPhone 14 Pro Max, and Samsung Galaxy S22 and S22 Ultra, but other options are much more affordable and have pretty decent back cameras.
My recommended phone for taking photos of yourself
I have a Samsung S23 Ultra and it takes INCREDIBLE photos when traveling, even in low light, like inside an ice cave, or of the Milky Way. It is not as good as a camera to capture the stars but it can do everything else and even the front camera is fantastic.
Plus it comes with Samsung’s typical “beautifying” features when taking selfies, because who doesn’t want their skin smoothened and their wrinkles ironed out 😉
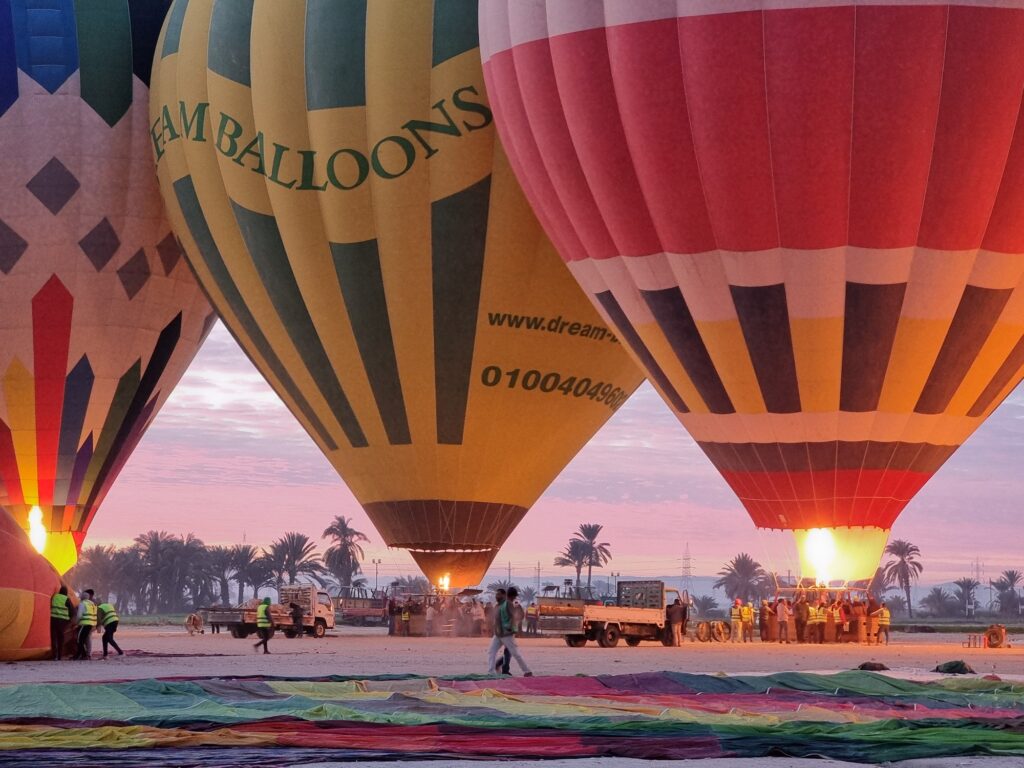
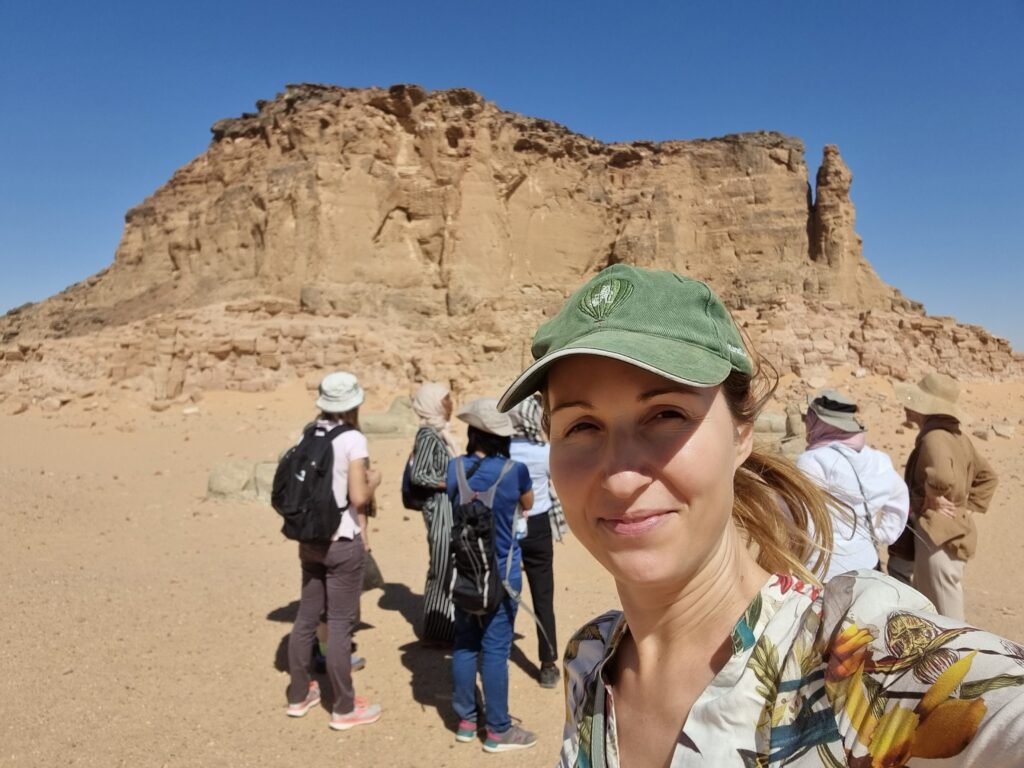
I use my Samsung to take photos during all our women-only group trips like the ones below from Egypt or Sudan that are not edited.
GoPros for solo travel pictures
One of the best things about the GoPro (other than the light weight and durability) is actually the many attachments and gadgets that you can purchase separately.
GoPros can go on a helmet when mountain biking, your side mirror when driving through scenic areas, underwater when swimming with humpback whales or on your surfboard.
They aren’t traditionally used for selfie photos and are more inclined to capture great videos, but GoPro has some decent remote control selfie sticks that are great.
Get the latest GoPro Hero here.
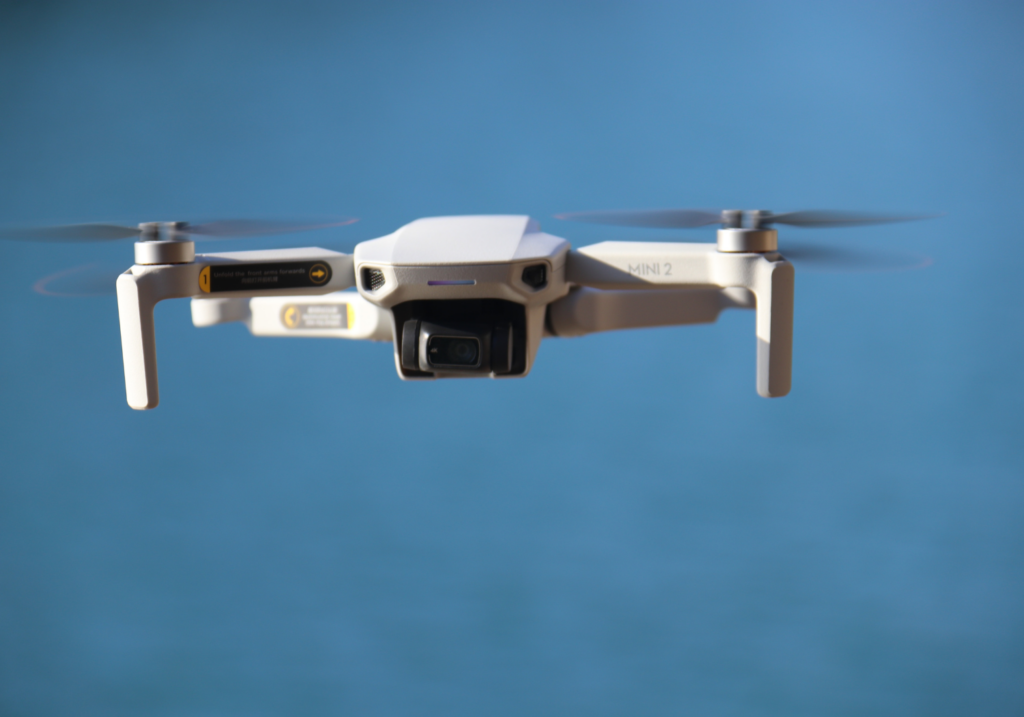
How to use drones to take photos of yourself alone
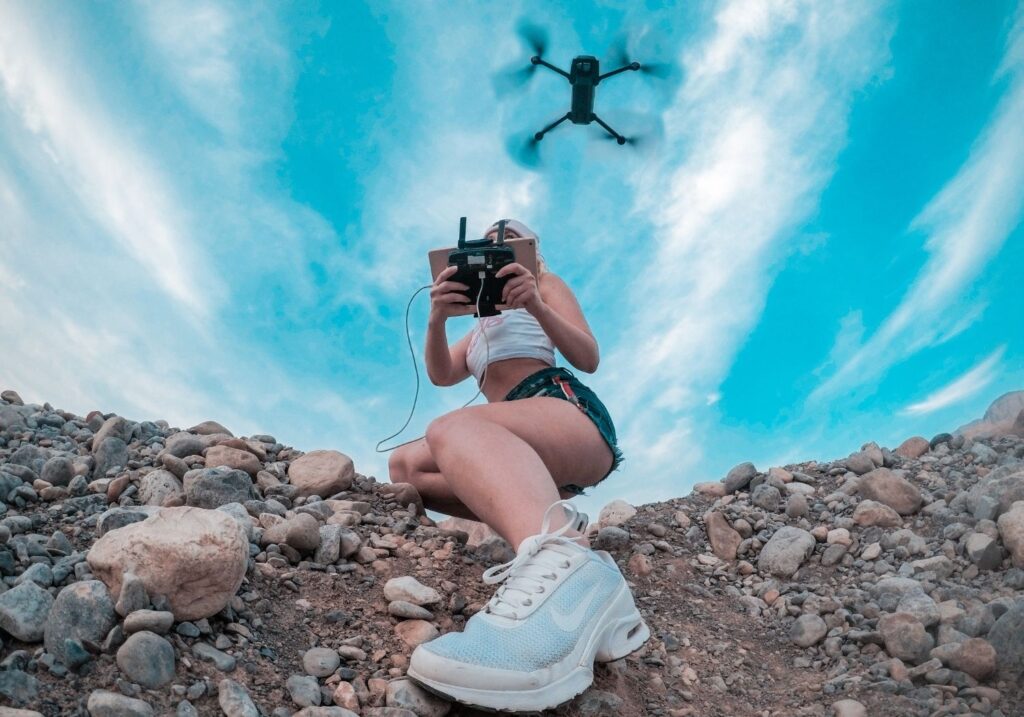
Drones are often overlooked when it comes to taking your own photos traveling solo but I have used them on several ocassions to take great photos when I am by myself.
One of the most popular trends is the “dronie” or drone selfie. Using a drone allows you to capture some really interesting angles from above or far away and nobody even knows you are taking it. If you love the outdoors and want to take a snap of the surrounding area, as well as yourself, carry a drone with you.
Important: Always research the place you are visiting though as not all places or even entire countries allow the use of drones. You may even need a drone pilots license in some places.
My recommendation
The top pick for selfies is the DJI Mavic Series which comes in Air, Mini and Pro variations depending on your needs.
I currently have the Mavic Mini and travel with it. I have had Mavic and Phantoms before (I have been using drones since 2014!) and can highly recommend it for travel and for taking photos of yourself alone. It packs really really small and weighs just 250gr so I can put it in my handbag or even in my pocket. This is a huge variation from my Phantom which required my entire carry on suitcase to travel with.
Purchase a Mavic Mini
Purchase a Mavic Pro

Best tripod for taking photos of yourself
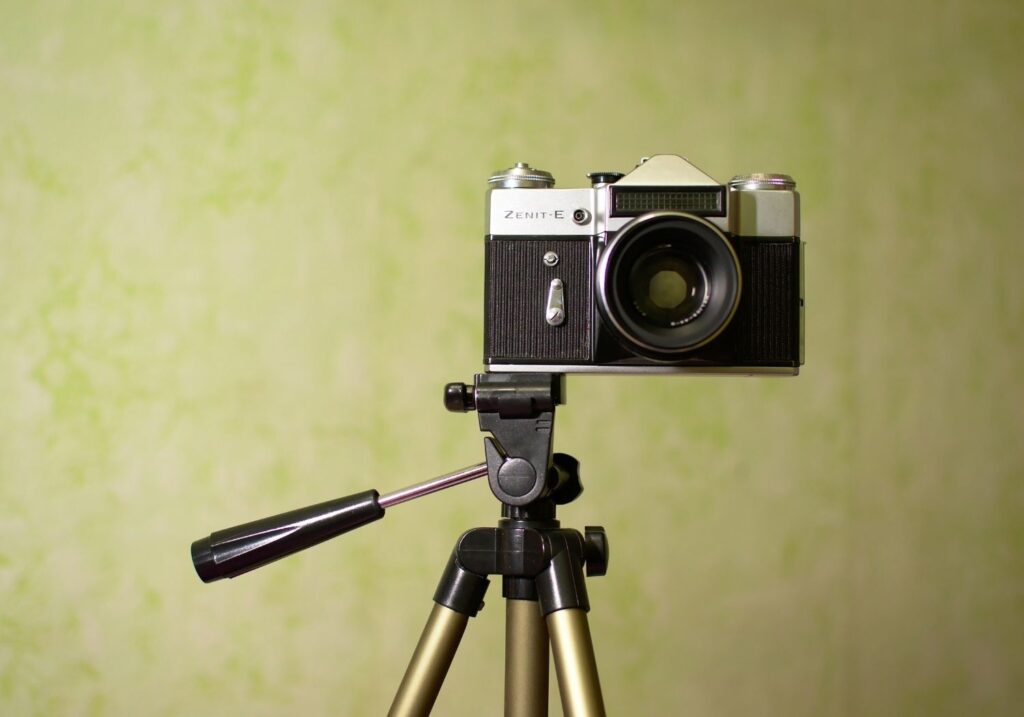
Tripods are essential for selfies, especially when taking photos of yourself.
Sometimes there isn’t anything to prop your camera or phone on top of and it’s better to have your camera sitting high up at eye level than having all your photos being shot from underneath.
Amazon is a great place for purchasing a tripod as you can get a general idea of the quality from the reviews and ratings.
Below are some of the features and decisions factors you should look at when picking the right tripod for taking pictures of yourself:
- Weight: Exact specifications for weight and size as these things really matter when you are carrying them around all day. Any tripod that weighs more than 500gr or 1 pound should be avoided. If you can find one that weighs less than half a pound, that is a winner and what I aim for.
- Rotation: Check if the head can rotate at 360 degrees so it is easier to set up.
- Height: Check the maximum height of the tripod to make sure it won’t cut your head off. You’d want something that can go to a minimum of 5 feet or 150cm, less than that and it won’t be high enough to take your photos when set on the ground.
- Stability: Check the stability of the tripod to make sure it won’t fall off with wind, or if the tripod foot requires you to have a fully flat surface versus an uneven one. This is usually possible when the 3 tripod legs are independent and so you can extend each individually.
- Attachment: Check if the tripod comes with an attachment for your phone and how that works; it wouldn’t be the first time our camera fell off a tripod damaging the screen because the attachment wasn’t great! Withe larger phones, you need to also make sure the attachment will be big enough for it, many tripods are made for the standard phone size and not the XL ones.
- Framing: Validate if the tripod allows you to set the phone up both horizontally or vertically to take portrait photos as well as regular landscapes one, and if it can also hold your camera. Most social media networks will prefer portrait photos / videos.
Below are our recommendations for the best selfie tripods that you can bring on your solo trips to those amazing pictures of yourself:
- Sensyne: One of the most highly rated tripods on Amazon with over 60k reviews and still close to 5 stars is this one from Sensyne. It’s a phone tripod with a wireless remote and universal clip that’s compatible with cellphones and GoPros. It has adjustable octopus style legs much like the Gorillapod, so that you can wrap it around things to get various different angles, and a light ring to make photos brighter.
- The Gorillapod is a great alternative if you are using a DSLR or mirrorless camera as it can hold more weight. They even have a tiny yet robust magnetic tripod if you’re around these types of surfaces a lot and can hold up to 325 grams in weight.
- PEMOTech: This option from PEMOTech is also highly recommended and it is more of a standard tripod without the octopus style legs and it comes with a wireless remote. The head swivels around 360° and at various angles.
- TECELKS super lightweight: One final suggestion is this super lightweight tripod from TECELKS that can hold up to 2kg/4.4lb of weight. Quite robust for something that only weighs 575g/1.27lb but it won’t hold the heavier cameras.
If you’re shooting selfie videos for your Youtube channel, you may want to consider using a gimbal.
What a gimbal does is reduces the shake while you walk so that the camera stays in position and is centered on you. Two of Amazon’s top sellers are the DJI OM 4 and the Hohem iSteady Mobile Plus, both double up as tripods.
After your have purchased your tripod, below are some tips when using a tripod to take pictures of yourself:
- Test your tripod at home so you can familiarise yourself with how it works. Give it a push test after setting it up to make sure that it doesn’t fall over and that you’re sure the head is attached properly.
- Make sure the tripod is stable and it won’t tip over with the wind. You can use your water bottle, backpack or bag to weigh it down, but beware of the safety risks so you don’t get your tripod, phone / camera and your entire belongings stolen.
- Bring a battery pack so your tripod is always charged, especially those that come with batteries and remote controls.
Bluetooth remote, wireless remote control or smart watch
Now that you’ve set up the tripod and phone at the right distance and frame, you will have to click the shutter.
You can use the regular camera phone timer, but that requires you to keep going back and forth between the phone and the location, which frankly, is a waste of time and can become quite annoying if you don’t get the right shot after 2-3 times.
The best alternative to using a time is to get a Bluetooth enabled remote control that connects to the phone easily and operates the camera shutter remotely. Pose, smile and click. Then repeat it several times with a different pose without having to go back to the camera.
I recommend carrying a remote bluetooth shutter like this one which is tiny and can easily be hidden inside your hand without anyone seeing it.
If you have an Apple or Samsung smart watch, you can also use it as a remote or a timer as they allow you to operate the camera shutter via their apps. You can purchase the Apple watch here and the Samsung watch here.
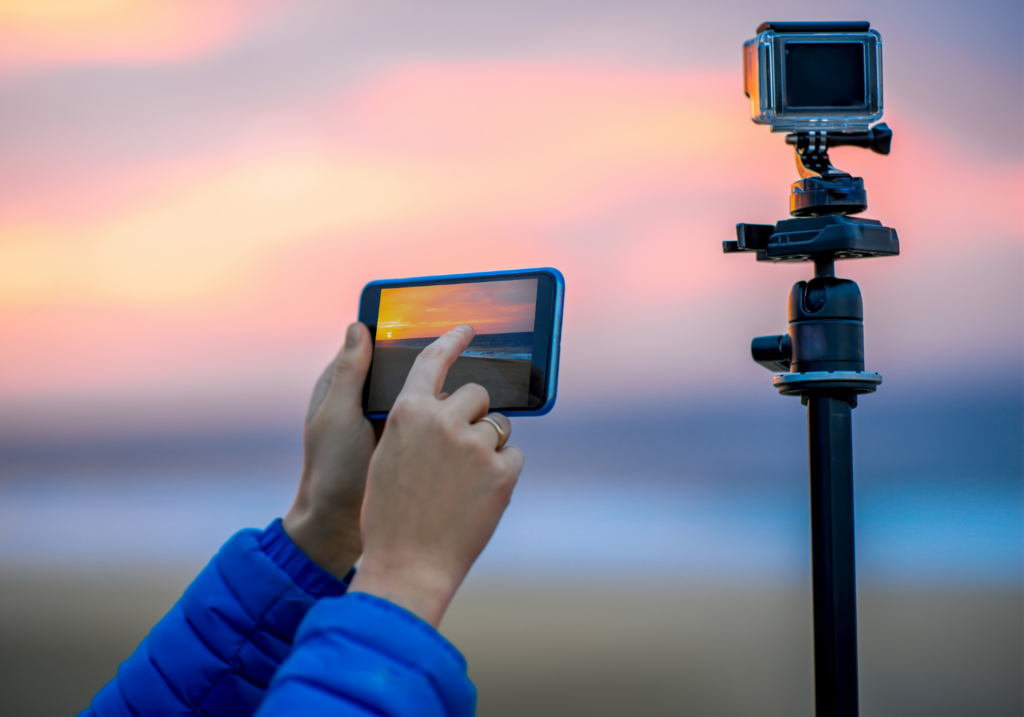
If using a camera instead of your phone, and your camera has a companion mobile phone app, this is the time to use it.
I set up my cameras on the tripod and then connect to the app via wireless and use the app as a remote shutter to take photos. The advantage of this is that I can see what the camera sees and adjust myself.
Phones are harder to hide from photos than small remote controls, but allow you to not just operate the shutter but also see the framing and focus, which is important when taking selfies.
My recommendation
- Get a camera that comes with a companion app you can use on your phone.
- If you are planning to use your phone or your camera does not have a companion app, get a remote control shutter like this one that you can connect to your phone or camera and use to click a photo.
Lens Buddy App and other similar apps


Lens Buddy is a hands free self-timer camera app that you can get on the Apple store and which may replace Bluetooth remote controls. Here’s an alternative app for Google Play.
How it works is that you set your camera up, set your time interval, and then walk over to your spot before the camera starts snapping away in bursts of your set quantity.
This is a hands free way to take multiple photos of a location without having to use a single shot timer or a bluetooth clicker. This way there are no foreign objects in your hands in your photos, and you can even take selfies which include your hands as they’re free to move around.
When you’re done snapping away, the app allows you to select your best shots and saves them to your camera roll or elsewhere. The benefit of using this app over taking videos and then selecting screenshots or frame captures is that the quality remains high with no pixelation that may come from a video.
The app allows you to choose your aspect ratio (square or wide dimensions), has a portrait mode and autofocus options, has various sound effects to let you know when the photos are being taken and the timer is fully customizable to suit your needs.
There’s also dark mode features, the choice between auto/on/off flash modes, and a selection between back and front selfie cameras. It doesn’t connect to your personal photos on your device, but does export your selected photos to your camera roll, so it is also safe.
Other alternatives to Lens Buddy: Timer+
Option 3 to take photos of yourself alone: Book a professional photo shot
Just because you are traveling alone doesn‘t mean that you have to take 100% of your photos yourself, and that you can’t splurge with a professional photo shoot.
Many solo travelers book local photoshoots at the destination to great success. It can sometimes be pretty affordable, especially if booked on Airbnb Experiences or GetYourGuide, and usually includes a tour of cool spots plus some interaction with a local.
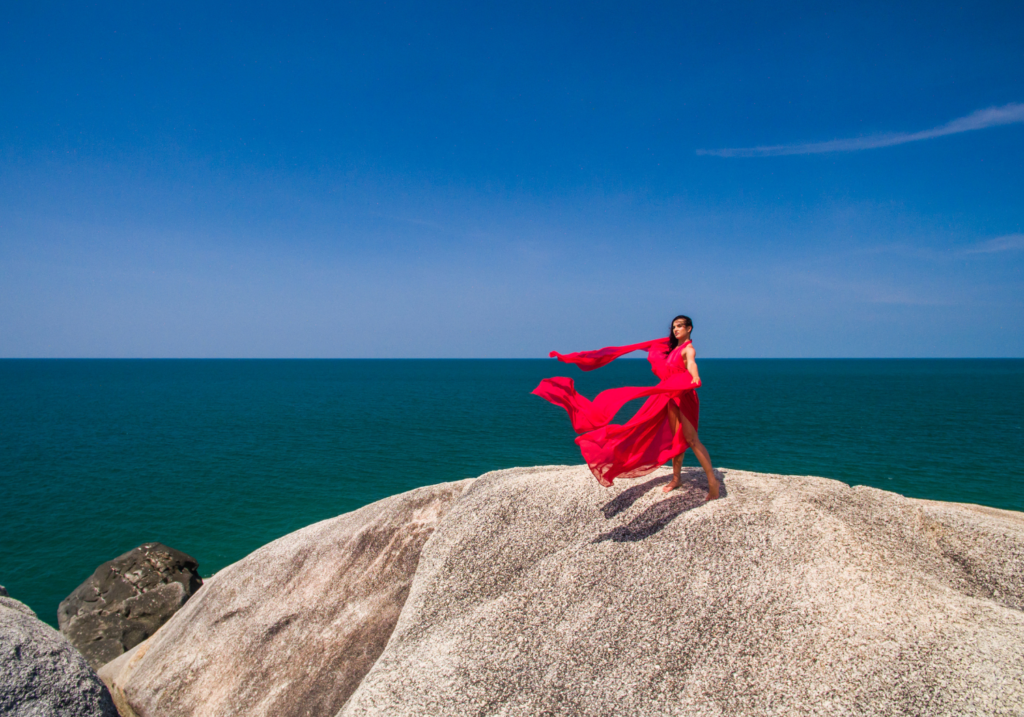
I have done photo shoots in Tokyo, Singapore and India and came back with incredible photos. You can also up your photo game when traveling solo and book a more glamurous flying dress photoshoot where you not only get great photos of yourself but also a fancy dress. This trend started in Santorini but can noe be found in Mykonos, Dubai, Cappadoccia in Turkey, Istanbul and in many other cities.
My recommendation
Check out GetYourGuide and look for local photographers that will meet you for 1-2 hours (or even longer) suggest great spots and poses, take photos and then edit and send them to you.
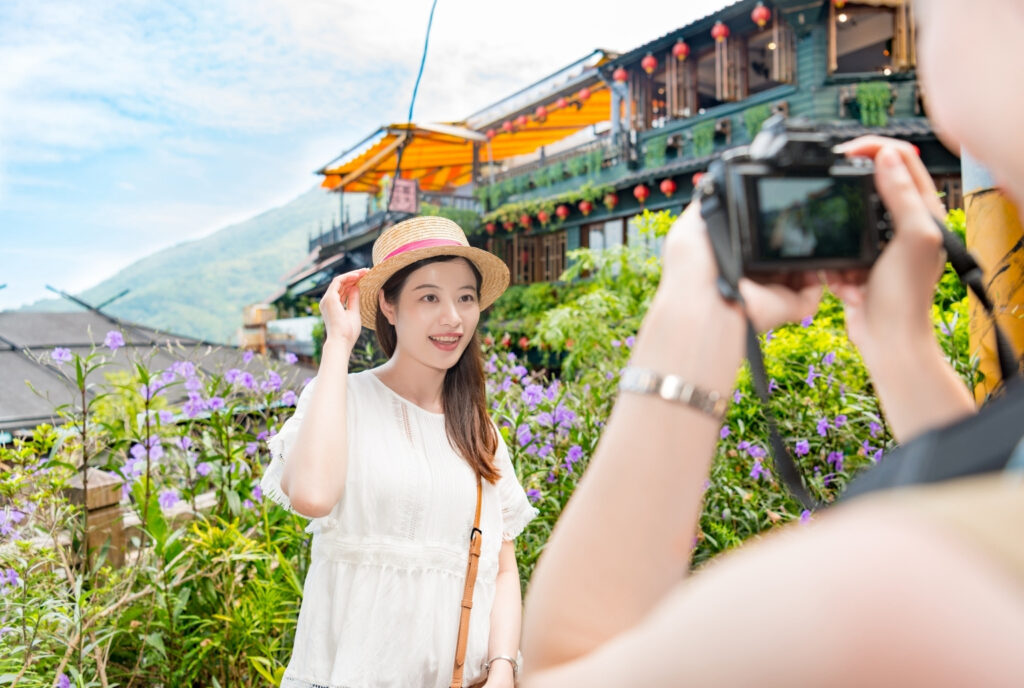
Option 4 to take photos of yourself alone: Ask a stranger to help you
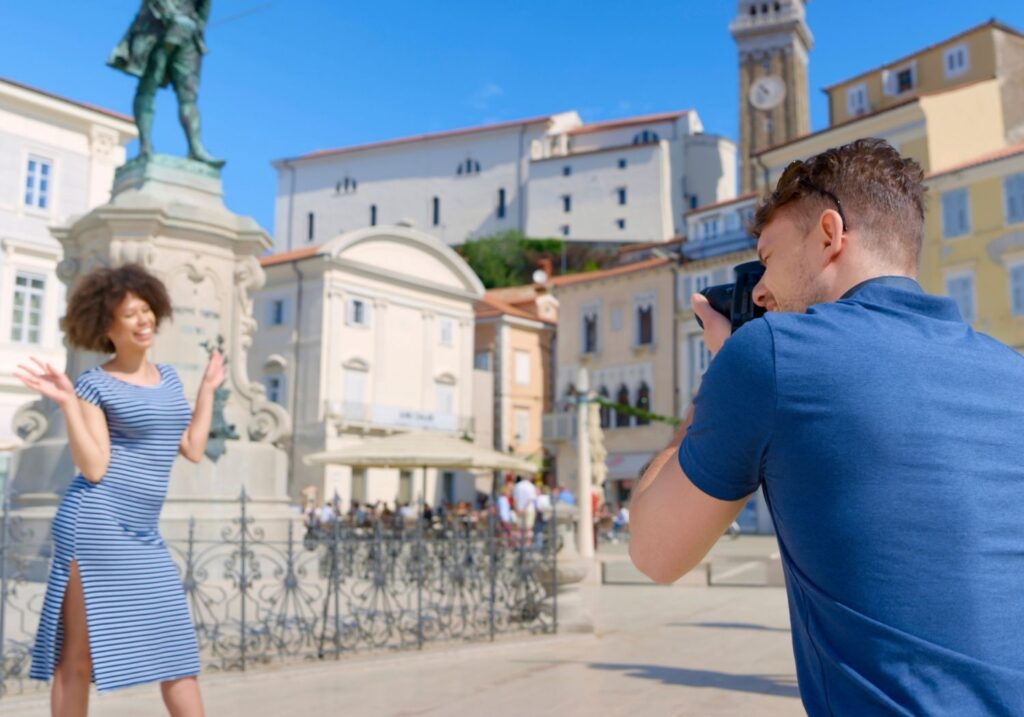
The most affordable way to take great pictures of yourself is to just ask another person. Below I have addressed some concerns that many people have with asking a stranger to take a photo for them.
Who to ask to take your photo
The first consideration is to ask someone who looks like they can take a photo. Young millennials or Gen Z are a good option as they’re raised on social media and probably know what looks good and are less likely to cut your head, arm or the top of the Eiffel tower out of the frame. They are also most likely to have more patience than the older folk if you need retakes or different angles.
You can also look for people with DSLRs and heavy equipment as they probably know what they’re doing and they most likely won’t run away (or at least can’t as they’re lugging heavy equipment).
Another great option are young families with small kids who are unlikely to run, or if they do, they won’t be able to get very far if pushing a stroller!
Lastly, other solo travelers are a great option; offer to take their photo in exchange for them taking yours. This may help you get good photos and also strike up a conversation with another traveler that could lead to a meal or a shared excursion.
Reject unsolicited offers, especially from men who look like they could be local rather than tourists, as there’s a higher risk they could be offering as a ruse to run away with your belongings.
What if the photos are really bad?
Instead of getting just one shot, ask your friendly stranger to repeat the same photo a few times, change pose, and maybe frame.
If none of the photos you got are good, don’t be afraid to ask again. Be patient though, as not everyone is a professional photographer. Smile and ask them if they wouldn’t mind taking it again because you were closing your eyes. Try to correct what was wrong in the previous photo by showing it to them.
If the photo comes out really badly, and you’ve even asked a second time and it still comes out bad, wait a few minutes and ask someone else! And remember, if the image turns out bad, you can always learn to use a photo editing program like Photoshop to crop things out or adjust the color, brightness and so on.
What to do if the person you asked is rude
If people say no and are rude, that’s okay. They may have their own agenda or don’t want to be responsible for your expensive equipment, or they may be in a rush. One of our members said she once asked a man who rudely said no only to propose to his girlfriend 5 minutes later. Moral of the story, you never know someone else’s story, so don’t take it personally.
Be specific, but not demanding
Don’t be afraid to give a little direction like, “please keep my entire body in including my feet” or “leave a little space above my head”. Maybe ask for a sample photo to see how they take the photo and also as a precaution so they know they might have to take another.
Option 5 to take photos of yourself alone: Join a group trip with a photographer
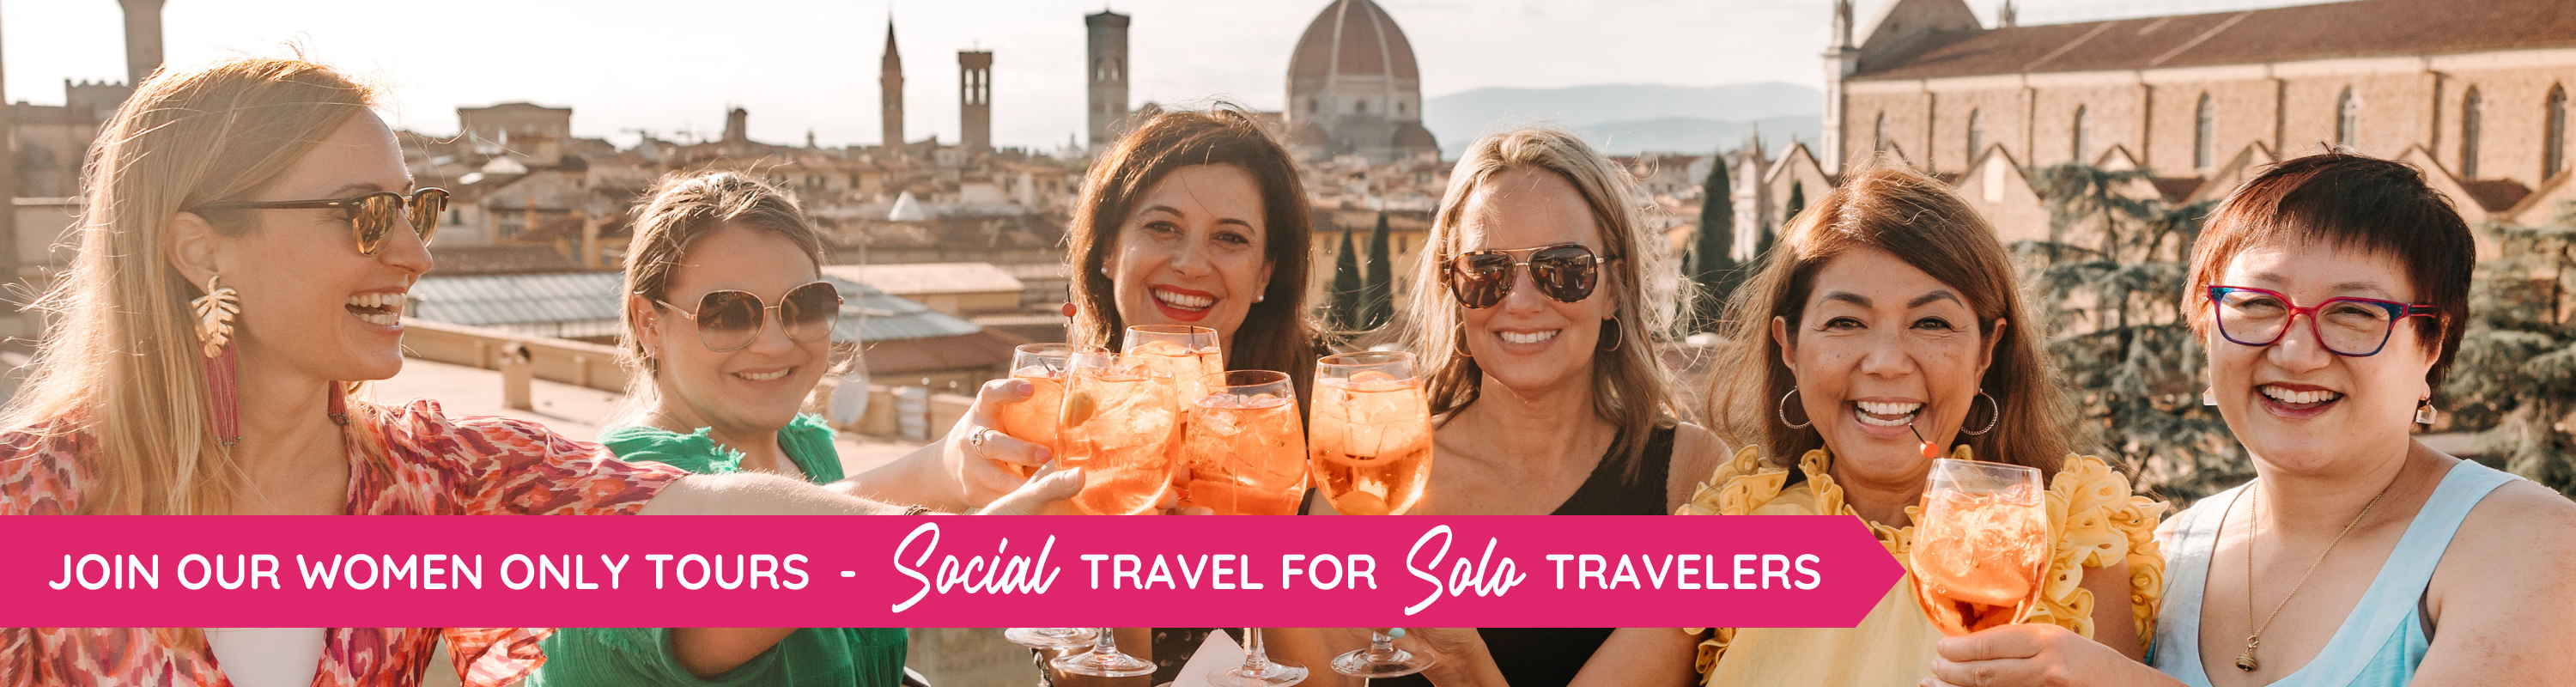
While we all love to travel alone, sometimes it’s more fun to travel together. We take women on small group trips designed by and for solo female travelers.
And because I know how hard it is to take pictures of your own when you travel solo, or even with a group of strangers, and we want guests to focus on being in the moment and not on capturing the moment while seeing it through a camera lens, we have photographers join select departures for our trips.
Imagine this as a trip-long photoshoot where someone is always taking care of the photos and making sure you look great and you don’t have to take any yourself. They capture the candid moments, the expression, the laughter and the wonderful places we visit. No need for selfie sticks!
How to prepare your mindset to take the best photos of yourself when traveling solo
For many of us, the most difficult part of taking good pictures of ourselves, either traveling, in a studio or for work, is getting over the embarrassment or self-awareness.
Some feel too awkward to set their camera up on a tripod and then pose like a model, especially in public when you have onlookers who might be smirking or rolling their eyes. Others are too self aware to use selfie sticks. Below are some of the most common anxieties around taking pictures of yourself traveling. Can you relate?

The bottom line is, confidence and the right mindset are key to getting that memorable shot when traveling solo. Here are some tips to boost your confidence when traveling solo and taking pictures of yourself.
Learn not to give a hoot
At first, it may seem weird to pose for a picture without anyone else behind the camera, but it’s important to remember that these are just a few seconds of awkwardness that will pass really quickly and that those rolling their eyes or staring at you are people you will never see again.
Secondly, remember that those looking are either just curious or jealous of your confidence. After all, building up your confidence is one of the main benefits of traveling alone.
If you feel judged, try waving at the person staring, or even ask if they want to be in the photo! This will take the edge off, show your confidence and most likely dissuade others from staring, lest you also call their attention!
Thirdly, use your imagination and pretend as if there was someone behind the camera, or as if your loved one was there, but they they simply turned invisible for a minute 😉
Remember, you’re traveling solo as a woman and that in itself is a major achievement, not everyone has the confidence to do this.
What are a few photos when you’ve come that far!? You’re pretty badass, so get out there, smile at the camera and don’t forget that!
On a practical level, here are some additional tips to feel less awkward when taking photos of yourself alone:
- Take photos when you’re ready to leave, so that once you are done, you just pack up and go and others can’t follow you or see what else you are doing.
- If you can, visit popular places at off-peak times. For example, can you go at sunrise, or just as soon as a place opens? Avoid the crowds and you may feel less self-conscious.
- If you’re asking someone to take your photo, pick a person who is also trying to take a selfie or has also set up a tripod, they’ll understand your interest, are more likely to take better photos and can sympathise with your embarrassment.
- Don’t set up a tripod and proceed to take dozens of photos in a crowded spot with lots of people or if others are waiting in line for a shot, be considerate, quick and don’t hog a photo spot. These may be times for a selfie stick instead of a tripod and timer combo.
Fun tip: If you’re still super uncomfortable with taking your photo, hold the camera up like you’re taking a photo of something else, when in fact, the photo is of you!
Practice makes perfect
As with any skill, the more you do it, the better and easier it gets, and this goes for embarrassment or self awareness when taking photos in public too.
The more you practice, the more confident you will become, and the less you will care about what others think of you.
The first time is usually the most difficult. You’re shy, awkward, keep people waiting, the tripod falls over or you mess up the shot. But then you keep practicing and you keep pushing the button. Eventually you’ll be taking snaps like a pro, wondering why you were ever worried in the first place.
Start small like taking pictures of yourself around the house. Move onto public spots in your town, maybe with a friend, and then onto the more touristy areas of your city.
Even if you’ve been there a million times or you don’t want to look like a tourist in your own neck of the woods, visiting these popular spots is great at getting an idea of what taking your own photos in public spaces will really be like.
Spend some time online looking at other solo female travelers Instagram accounts. Check what angles work for them, what frames and how they have taken photos of themselves when traveling solo.
There is no shame in copying what has worked for others until you get your own style down pat. You can start by checking out our Instagram account where we feature other solo female travelers.
Take a class to learn how to take photos of yourself alone
The most suggested lessons in self photography is by the selfie queen Sorelle Amore. In her Advanced-selfie-university you can learn literally all there is to know about selfie taking. It’s beyond a photography class and you will most definitely learn something from here. She’s also super fun and silly, even though she looks smoulderingly serious in her photos.
The above is a quick video to see her style of teaching; she’s a loon in the best of ways!
Learn about angles and framing
Now that you’ve got all the equipment and know how to ask strangers for help, you’ll need to start experimenting with framing and angles. Learning how to take pictures of yourself alone is not a quick overnight activity. It takes time, persistence, trial and error and a little bit of failure.
Yet, as with normal photography, the more you experiment, the more you’ll see what works and what doesn’t. As this is not a crash course in photography, I won’t focus on how to take good pictures in general, but will rather give you some tips on how to take pictures of yourself alone – as this is a completely different story!
Get inventive
The best way to get better is to just try everything. Grab any image you really love off Instagram and try to recreate it. Maybe that person hired a professional photographer, but here you’ll only have yourself. Try to get the perfect framing, color, focus and angle. Once you’ve recreated several of these images, use what you’ve learnt to get your own style.
Experiment with camera placement. You may need to wrap your tripod on poles, chairs and door handles. Prop it up on rocks, your purse or a backpack, or sit your camera on random surfaces to get the right height or angle.
Learn how to obtain focus too. Cellphones are notorious at constantly trying to pull on auto focus at the center. So if you go to the corner of the frame, your phone will try to focus on the background. Try to find a large object lying around which you can use to capture the camera’s focus. Or carry around a large piece of folded up cardboard that you can attach to a stick or monopod to pull focus. Like I said, get super inventive with this and practice a lot.
Hot tip: Have your pose and scene ready in your head so you’ve mentally prepared the shot before the camera clicks, especially if you’re asking someone to take a photo of you.
Top tip: Set your camera to video mode or burst photo, pretend you’re on a runway and strike a few poses, then check all of the screenshots and pick the good poses.
Experiment with framing and focus
When experimenting with framing and focus, try close ups, middle shots and far away pictures. Beginner photographers usually plateau as they think that there is only one way to take a photo. Don’t get stuck taking the same photo with different backgrounds.
Just because you’re alone doesn’t mean you have a limited choice. Even if you only have a selfie stick, you can push it to different lengths, hold it up high or down low, hold it in front of you or behind you, try portrait and landscape, or change up the direction of your face – looking away from the camera, at the camera or do a side profile. The options are limitless, even with a selfie stick.
If you have a tripod and bluetooth remote you have even more options and can get some really awesome landscape shots where you’re only limited by the bluetooth radius. Don’t forget to play around with depth of focus which can create an artistic flare to your work changing an average image into a beautiful shot.
Learn how to pose & your best side/angle
We all look different and as a result have good and not so great sides and angles. Through experimentation you can learn exactly which sides are your best. Especially with selfies, you should know whether the camera loves the left side of your face or the right.
One way to find this out is to hold a piece of paper vertically over one side of your face and snap a shot. Then do the other side. Your better side will be the one with more upturned features, i.e. the corners of your eyes or lips.
Also learn how best to angle your face so that you don’t get a strange double chin or weird looks. Tilting your head forward a little and looking up is a good way to make sure everything looks in place.
Practicing at home
Don’t be discouraged if the photo takes you a while to get right. Even the most professional photographers struggle to get that perfect shot. If you’re unhappy with a photo you’ve taken of yourself, change the lighting, framing, background or your outfit until it feels perfect.
Practice in the safety of your own home where you can go selfie crazy around the house or apartment and get your family members or flat mates to critique all your shots. Be sexy and sensual, fun and silly, just have fun. You can always delete the photos you hate and no one will ever get to see them.
Experimenting at home can also lead to serendipitous moments where you find your signature style by mistake.
Bring a change of clothes
If you’re taking pictures in a hotel, it’s easier to bring several outfits. This way it will look like you have had multiple photoshoots when in fact, it’s all one with a minor change of clothing. Having multiple outfits at a public location is a bit more difficult, but having a simple shirt or jacket to throw over your onepiece, dress or shoestring top can do the trick.
Wear your tank top in one photo, a button up shirt in the next and a jacket in the third and you have multiple different choices to pick from.
Love this article on how to take photos of yourself. I am extremely self-conscious of taking selfies and very inexperienced due to my avoidance. I appreciated all of the tips and advice in your article. A great read!
Thanks for your comment Heather, we are so glad you found it useful!
Such an informative article with so many ideas! Thanks for sharing 🙂
You are most welcome!
Brilliant! Excellent tips, thank you.